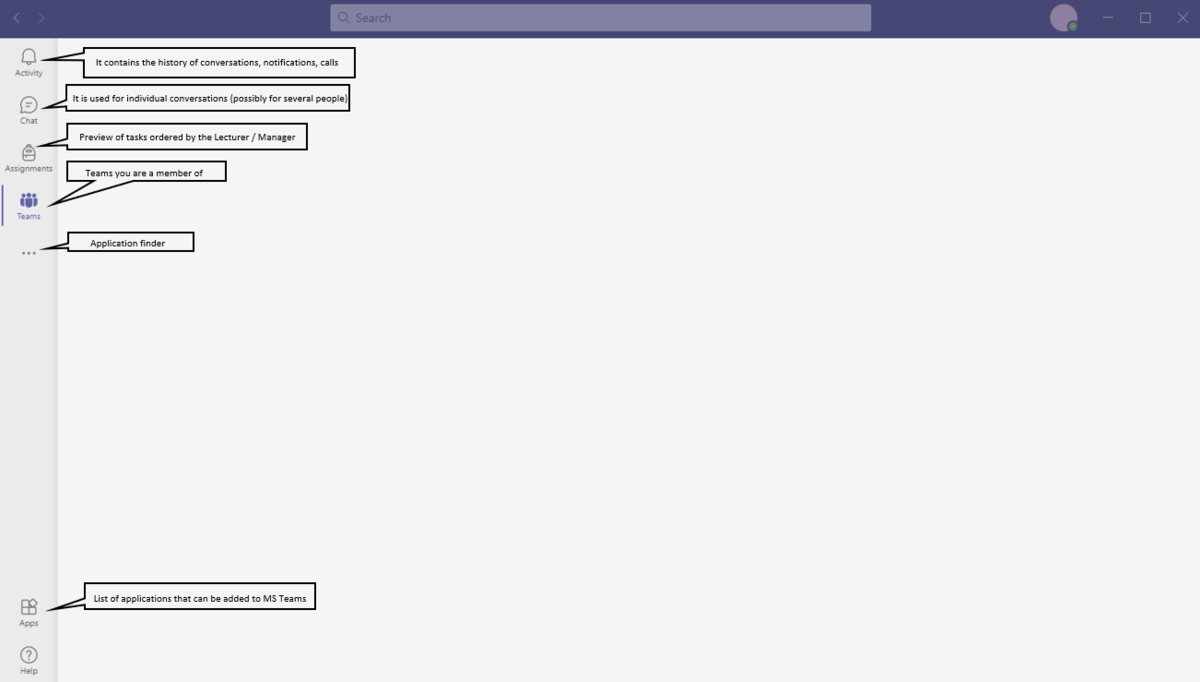
Microsoft Teams is a tool for teamwork, thanks to which we can, mainly but not limited to, remotely conduct video conferences, create meetings or share selected files.
All employees and students of UKSW have access to the service, but depending on the assigned licenses, they receive different functionalities. This means that people from outside the University cannot participate in meetings organized by people from the University or be added to teams.
Scheduling meetings Teams calendar at the moment is limited, as the university is in the process of migrating employees to the new e-mail system based on Microsoft Exchange software.
Guide to using MS Teams
We can use the MS Teams service in the browser by logging in to https://teams.microsoft.com/ with the appropriate data to Office 365 or download the application to your computer.
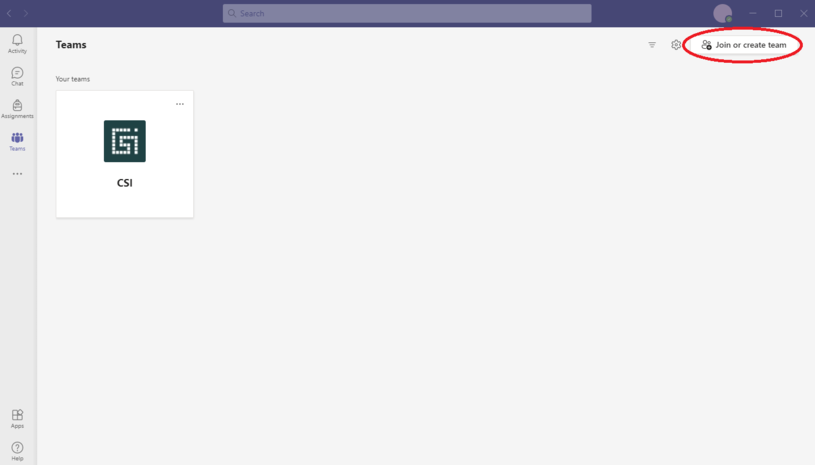
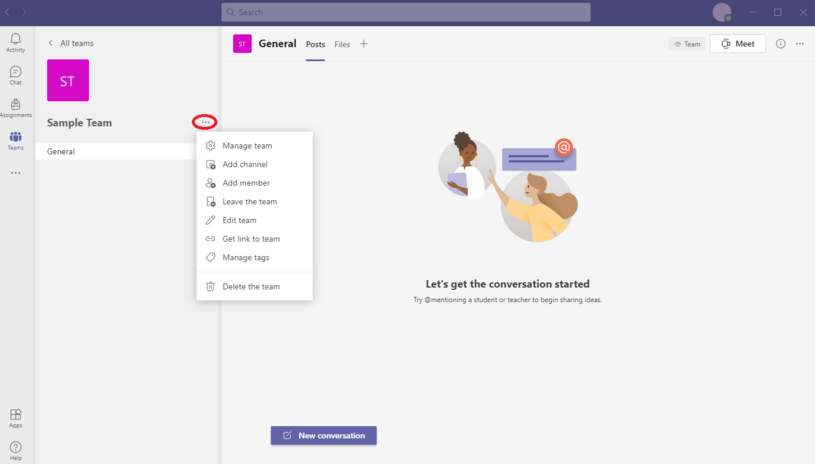
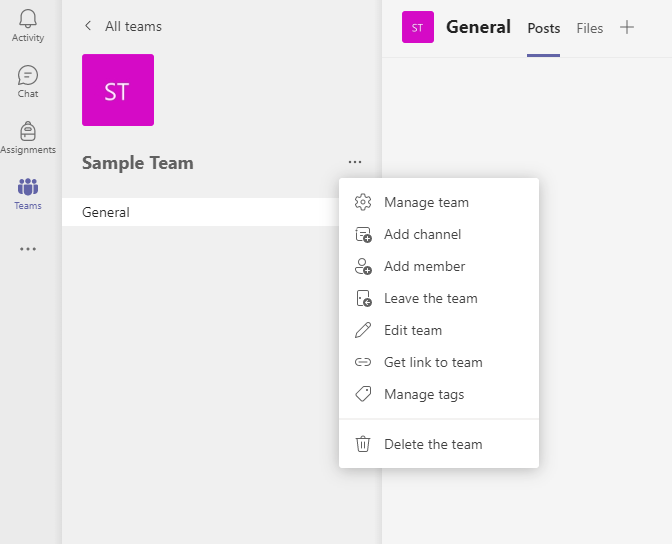
- Manage team - here we can:
- add members as well as assign roles to them (team owner, member);
- accept invitations to join our team (if we have authorized it);
- create channels;
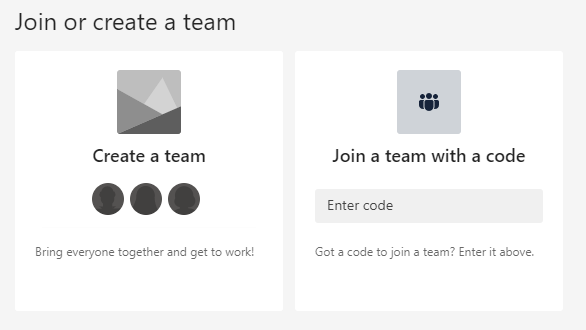
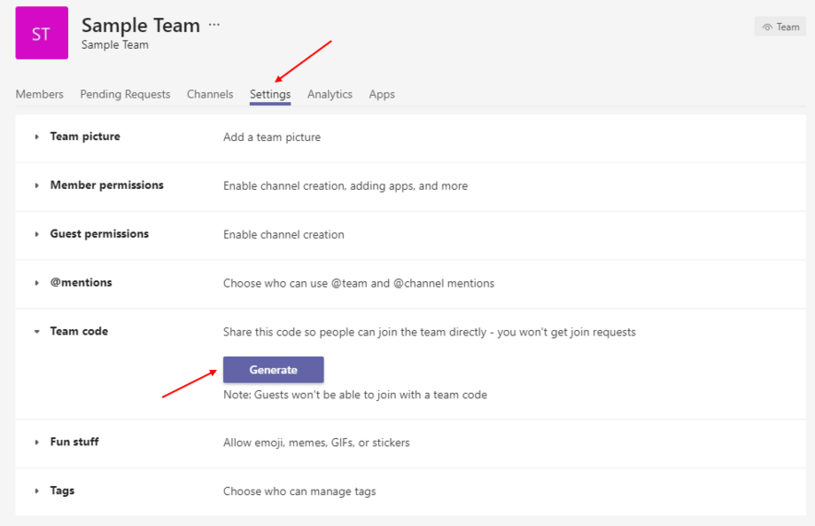
- manage settings, e.g. permissions of members, guests; here we can generate team code that we can share to join our team;
- manage applications;
- see the analyzes.
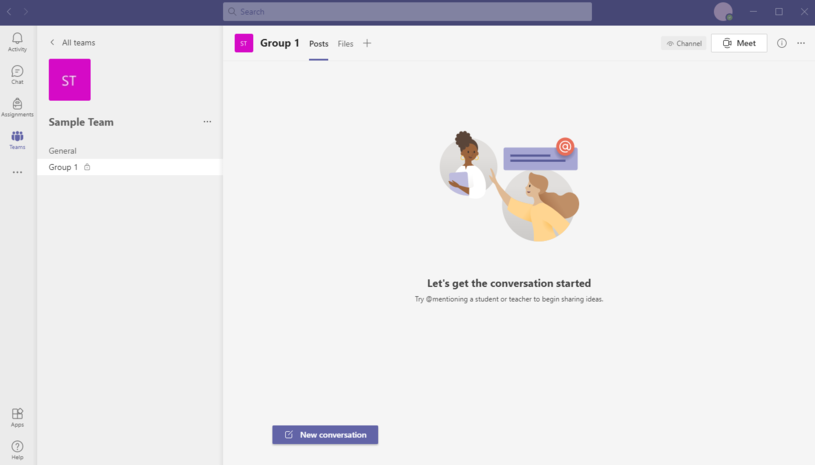
- Add a channel - channels are usually thematic, for example: Exercises group 1, Lecture III year, etc. Each channel can be accessed by all members of our team or we can limit access to selected people only.
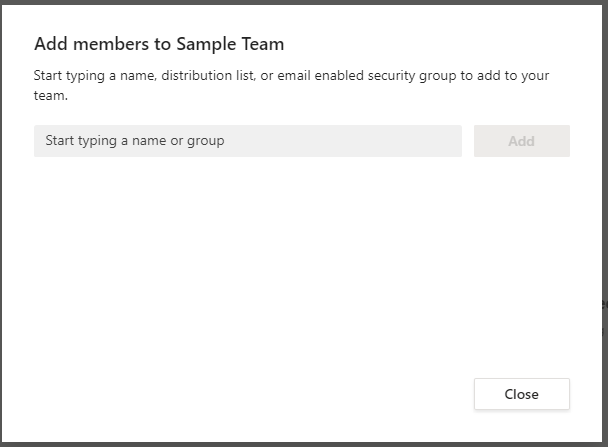
- Add member - here we can add a new person to the team. Remember that new people must come from your organization, ie the University.
- Leave the team - this option allows you to leave the team if you do not want to continue to participate in it.
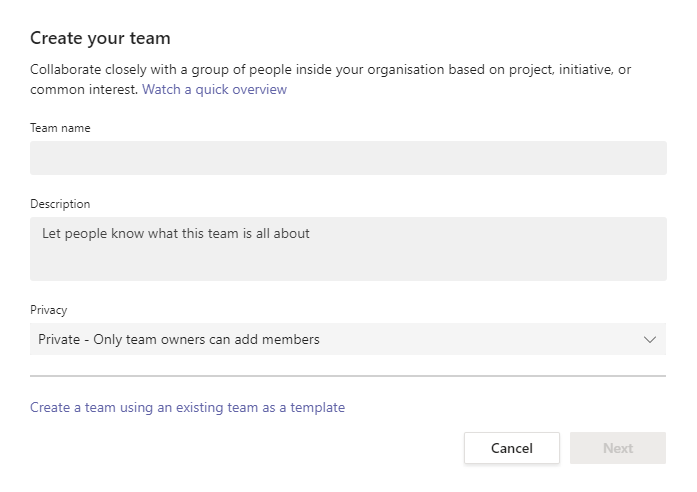
- Edit team - allows you to edit the team name, description, privacy and avatar.
- Get link to team - allows you to generate a link to our team.
- Manage tags - the ability to create and set tags.
- Delete the team - only the team owner has this option.
Training recordings
Please be advised that training materials from previously conducted training sessions have been made available on the Stream platform.
The fastest way to reach them is:
1. log in to Office 365 services via the website http://office365.uksw.edu.pl ;
2. go to the Stream service;
3. Click "Find" and select "People";
4. In the search field, enter "Ryszard Stasiak" and press the magnifying glass icon;
5.Click on the person's profile displayed and select the shared recordings.
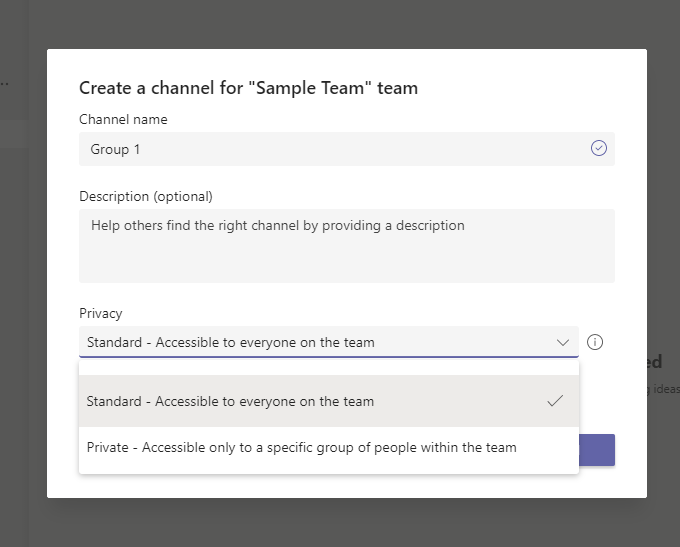
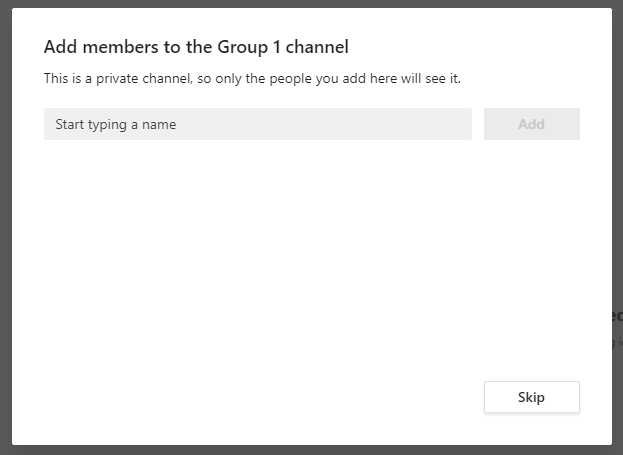
2. We give a name to our channel and choose whether it should be available as a standard channel, i.e. available to all people in our team, or private, which means that only the people indicated by us will have access there. Attention! Only people who are on the team can access channels on the team!
MS Teams with Moodle
A plug-in has been added to the Moodle platform that allows you to create a meeting using MS Teams. After logging in to Moodle, select the Edit option located next to the topic of the class, after opening the editor, select the MS Teams icon, where you should log in to Office 365. After creating the meeting and filling in all the necessary data, a link to the created meeting will appear on the platform (the link is visible only to participants of the course in which the meeting was created).
Help on MS Teams
On MS Teams, we have launched a team called Pomoc TEAMS, where you can ask questions about this service or read about the most common problems.
You can join the team by searching for the „Pomoc TEAMS” team or via the link .